And I haven’t blogged about it til now!! Gasp! Bad blogger!
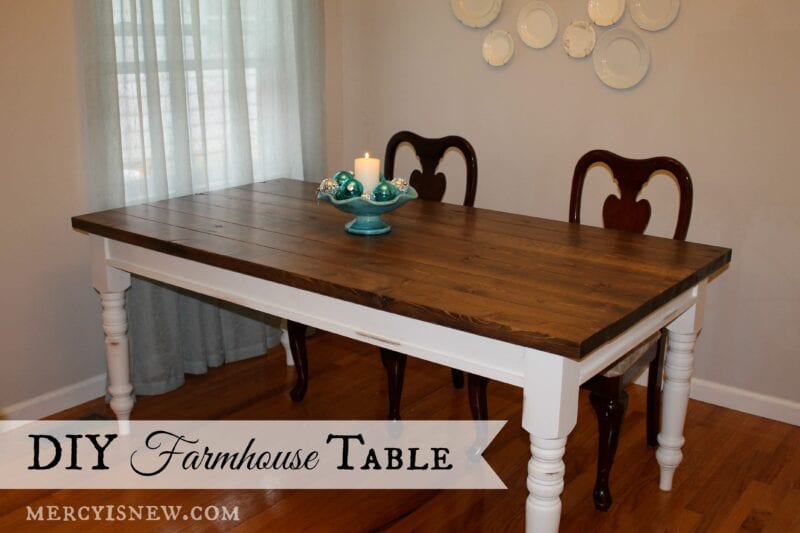
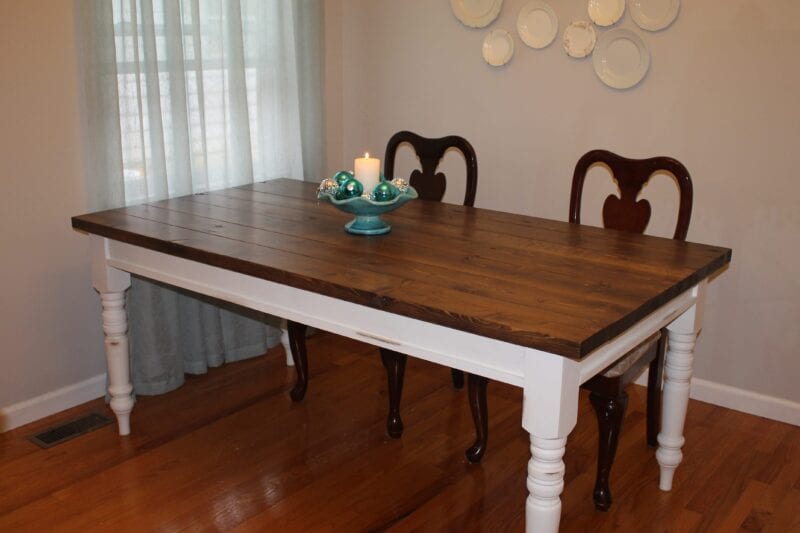
Oh my goodness y’all. Best gift ever. My husband is not in the woodworking business. He just learns as he goes. And this time he learned good I tell ya. My husband is the best DIY farmhouse table builder ever.
I’m still in awe of my beautiful table. I love it so much.
I wanted to share with you all the details, but I wasn’t sure I could get it all right. So, I’m sharing the link that David *roughly* used and showing you the amazing pictures. 🙂
Yes, I’m the lucky one.
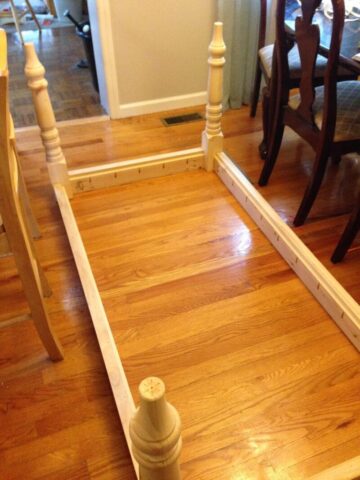
Here are some pictures of the process. Again, check out these plans that David followed.
Supplies
- I’m only listing the supplies that were specific to our project, you can find the rest at the link where we found the plans.
- Table Legs ~ we got our legs locally at Adams Wood Products (they were cheaper than Lowes and also had chunkier legs than Home Depot or Lowe’s at this price.) We went with this model in the pine. We realize pine isn’t the best quality wood, but it’s what we could afford for now. After looking around online and locally, you just could not beat $23 per leg.
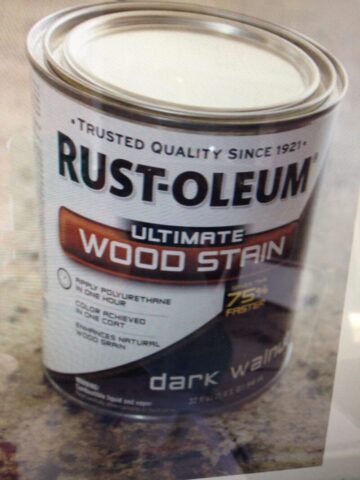
- Rust-Oleum 260363 Ultimate Wood Stain, Dark Walnut
(this is the stain for the top of the table, for the bottom we used white paint we already had in our shed)
- Kreg MKJKIT Mini Kreg Jig Kit
– my husband did have to buy this smaller version of the tool recommended at Ana White’s site. This mini kit worked just fine for this project.
Lots of sanding with the electric hand sander. 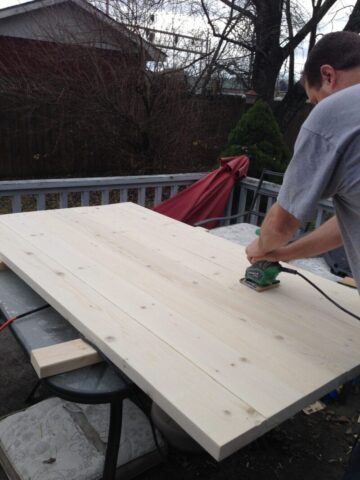
Isn’t it beautiful? I still can’t believe it’s mine. I still walk through my kitchen and look at it and am amazed.
Thank you to my awesome husband!! 🙂
Notes from the hubby on building this table:
- It came together much better than I thought it would. The only thing I wish I had paid more attention to was sanding the table top. I have a small handheld electric sander and got the top pretty smooth, but could have done better. A large belt sander would be perfect and would save some time too. I could always go back and refinish it at some point, but probably won’t.
- Make sure you have a Kreg jig (the $20 mini jig did the trick) and read how to position it based on the thickness of your wood and length of your pocket screws; it makes the job so much easier.
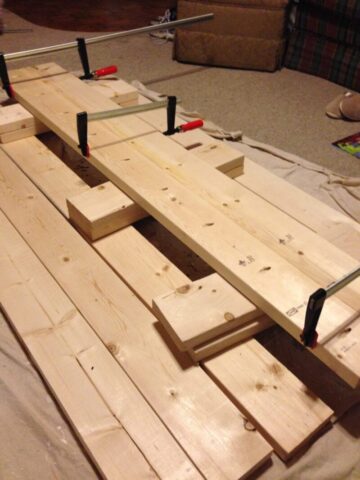
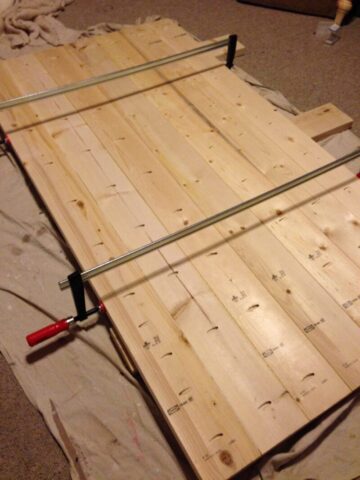
- I invested in a couple of large clamps (and a couple smaller ones). Even though I spent an hour digging through a whole pallet of 2x6s at Lowes, I still didn’t find perfectly straight boards. But with the clamps was able to get them lined up pretty well and fairly flush so that there was less sanding to do later.
- I pre-drilled all the planks and then put them together one at a time. I put a thick line of glue between them, clamped them as level and tight as possible, and then went ahead and screwed them together before the glue had set.
- The part I was most worried about was the stain since I have had trouble with that in the past. It actually turned out to be so easy. I applied pre stain first, then one coat of oil based stain that I only let soak in for a few minutes, and then a few coats of polyueurothane. I didn’t like the matte finish poly that I applied first because you can’t even tell you put anything on. So I finished it off with a couple coats of semi-gloss poly.
- I wouldn’t use the stain that has the sealer included like that Minwax stuff. It is more work to do it the way I did, but was so easy and came out with a perfectly even coat. As far as the base, the only trick is to get it squared up and the legs perfectly parallel so you don’t have a wobbly table. That’s probably too much info, but pretty much covers it I think. I kind of enjoyed building it.
It looks awesome….he did a great job!!! I read this in my e-mail earlier and it inspired me to stain the top of a little table that I had already painted the legs on!!!