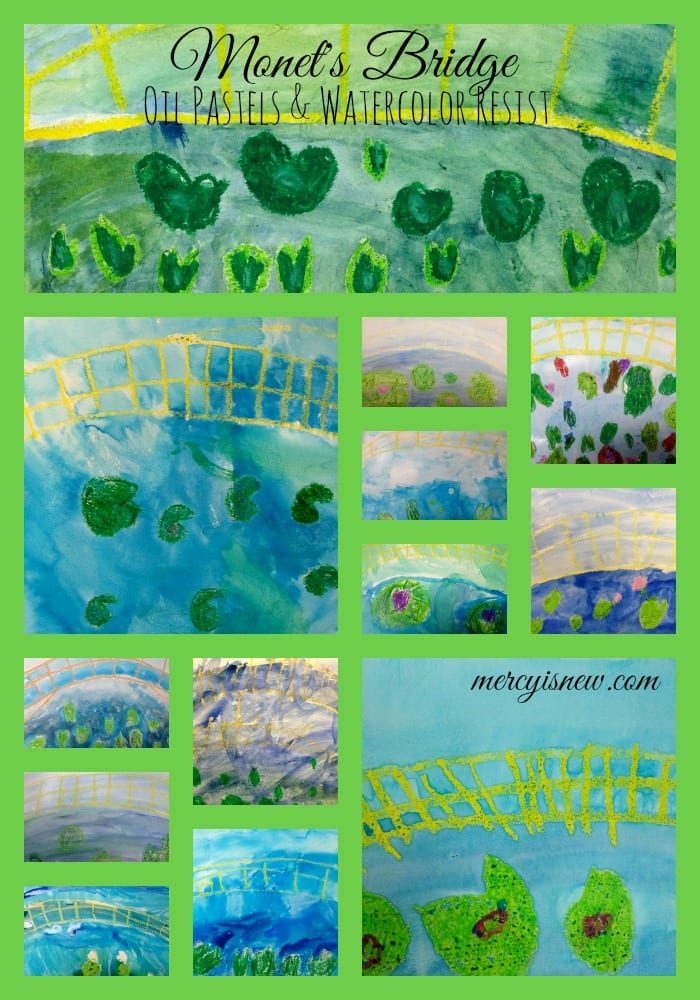
Continuing with our study of Monet, we created some beautiful water lily ponds with oil pastels and watercolors!! {See our chalk pastel lily pads here!}
Supplied Needed: Watercolor Paper + Oil Pastels
+ Watercolor Paints
I always love trying oil pastels with watercolors as a resist!! The kids are always afraid to go OVER the oil pastels they’ve drawn, but the finished product is always so cool to see!
Instructions
- Have children draw the large curved lines across the top of their paper with a LIGHT colored oil pastel to create the bridge. Remind them to press down with oil pastels so that the vibrant colors show up well!
- Under the bridge, have children draw lily pads and blooms that will be “in” the water after the water is painted.
- Color in the lily pads & blooms with oil pastels.
- After you are finished with all the lily pads, blooms and bridge, get out water colors.
- Go over the ENTIRE portion UNDER the bridge with various shades of darker colored blues, purples and greens. This will be the WATER. Remind the children to KEEP ADDING WATER. Watercolors need lots of water!
- After your water portion is finished, continue using blues over the TOP of your page, but in lighter shades. Paint directly ON TOP of the bridge with the light blue, which will be the sky!
The inspiration for this project came from this blog post from Art Tree Kids.
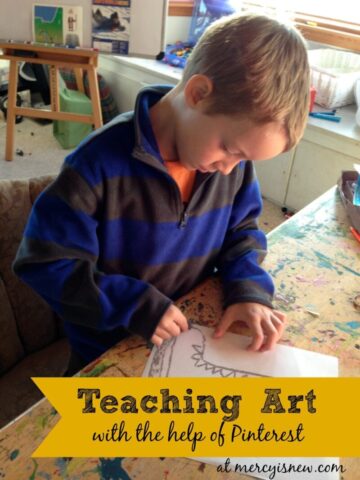
To see all the posts in this series ~ Teaching Art {With the Help of Pinterest} click on this picture below!
One of my favorite tools for teaching art is Tricia’s Simple Chalk Pastel Tutorials! Find them here!
{Make sure to give your kids plenty of brain breaks throughout your homeschool day! Check out this ebook chock full of ideas!}

