Not an artist? No worries! You don’t have to be an artist to help your child experience art! You don’t have to know all the technical art terms to give your child the gift of art. Last semester I shared lots of ideas with you for the non-artist to Teach Art {With the Help of Pinterest.} I have LOVED that series and promised you I would still come back and share more art ideas with you even though I’m not continuing the series weekly anymore.
Last semester we studied Van Gogh, this semester we are learning more about Monet and Impressionism!
All you need for this lesson: Acrylic Paint  + Watercolor Paper
 + Paint Brush + Water
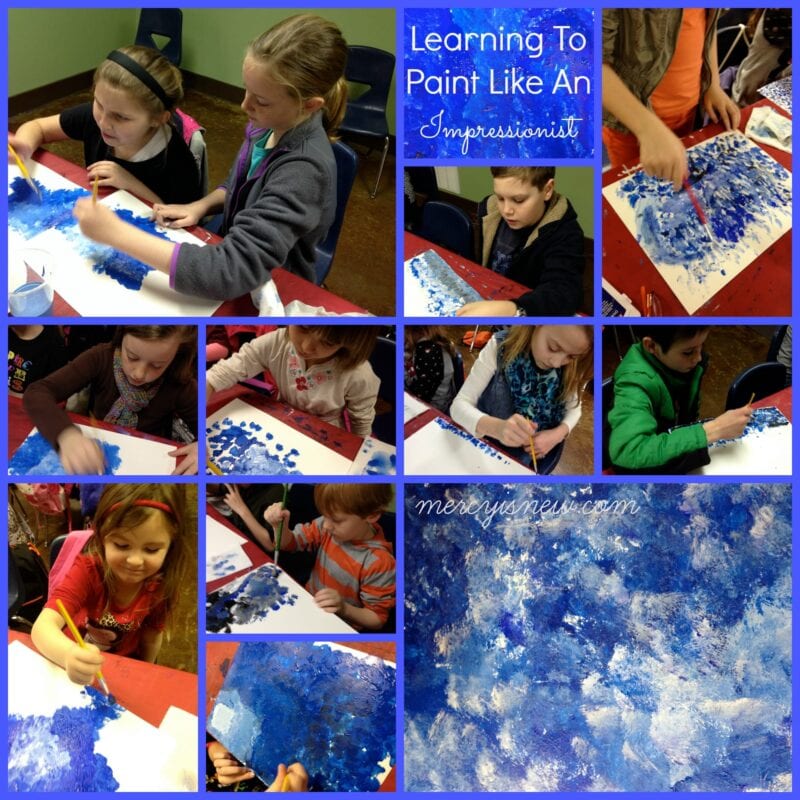
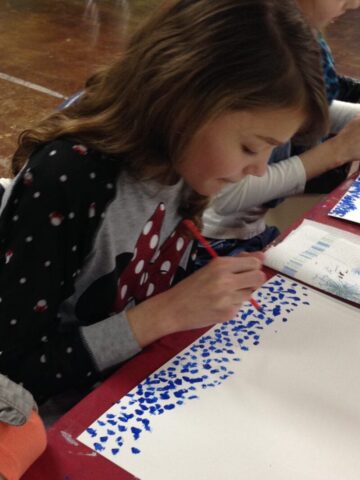
The main thing I kept emphasizing to my kids in art class last week was to NOT do long strokes, but DAB and BLOT with your paintbrush. Use BLOBS of paint and actually leave it on the paper in blobs. 🙂 I use highly technical art terms, you see.
At the beginning of the semester we read this book, among others I will share with you soon.
In this book, Claude Monet: Sunshine and Waterlilies there is one particular page where you see a Monet painting up VERY CLOSE. We discussed how all you could see was blue paint. You could not really tell what it was. But, when you stepped back and looked at the whole picture, you could see the cathedral he had painted. There were no distinct lines in his paintings usually. Just blobs of paint.
Blobs of paint that turn into beautiful cathedrals. Helping my kids to remember that these are characteristics of an impressionist artist was my goal. And allowing them to attempt painting in this way will be even more memorable!
Before beginning this project make sure your kids understand that this is NOT going to be a pretty picture of something – like a pond with waterlilies. We are only PRACTICING to paint like an impressionist. Experimenting if you will! I told them that we were going to experiment painting WATER like Monet did, but that we weren’t going to make it into a finished product, really, that this particular painting day would be just experimenting.
Step 1
Put a blob of paint on your brush, dab the paper. Repeat. Again and again.
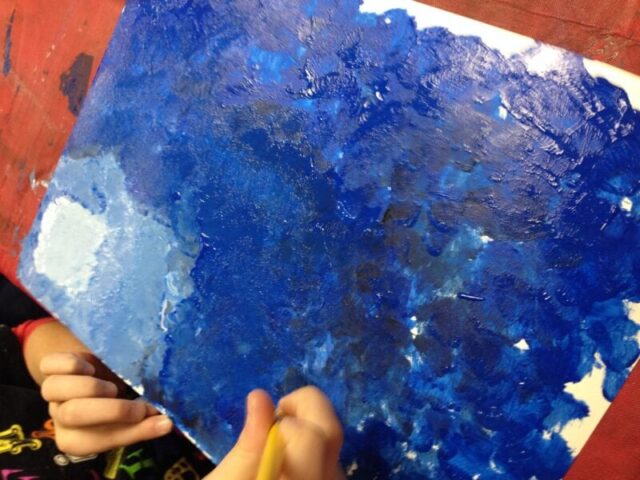
The more you dab, the more your paper begins to look like this:
We discussed how the sun shining on the water would create lighter spots and also shadowed darker places. We added in white blobs and black blobs for shadows and light. Just add the white and black paint blobs right on top of the blue! Mix it right on the paper by just covering one color to create a new color!
I think this project went well, though I did have to walk around the room reminding kids — ONLY DAB, NO LONG STROKES! LOL!! I realize the impressionists might have stroked every now and then, but for this particular project I wanted them to just get the point of dabbing and blobbing.
To read the entire series Teaching Art {With the Help of Pinterest} click on the picture below!
I was inspired to do this art lesson with my kids from various blog posts I found on Pinterest. Here is my Art Projects for Co-op Class pinterest board and here are the blog posts that inspired: from Teach Kids Art and from The Art of Education.
One of my favorite tools for teaching art is Tricia’s Simple Chalk Pastel Tutorials! Find them here!
{Make sure to give your kids plenty of brain breaks throughout your homeschool day! Check out this ebook chock full of ideas!}


Leave a Reply