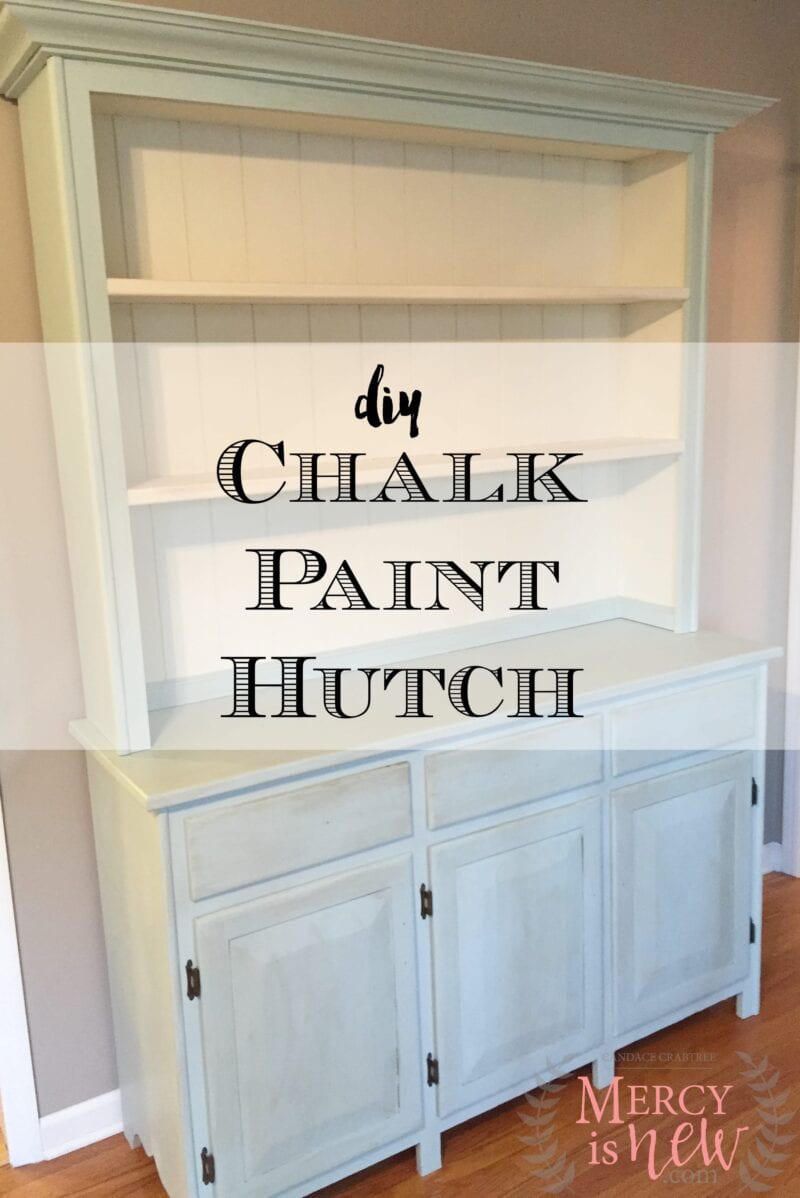
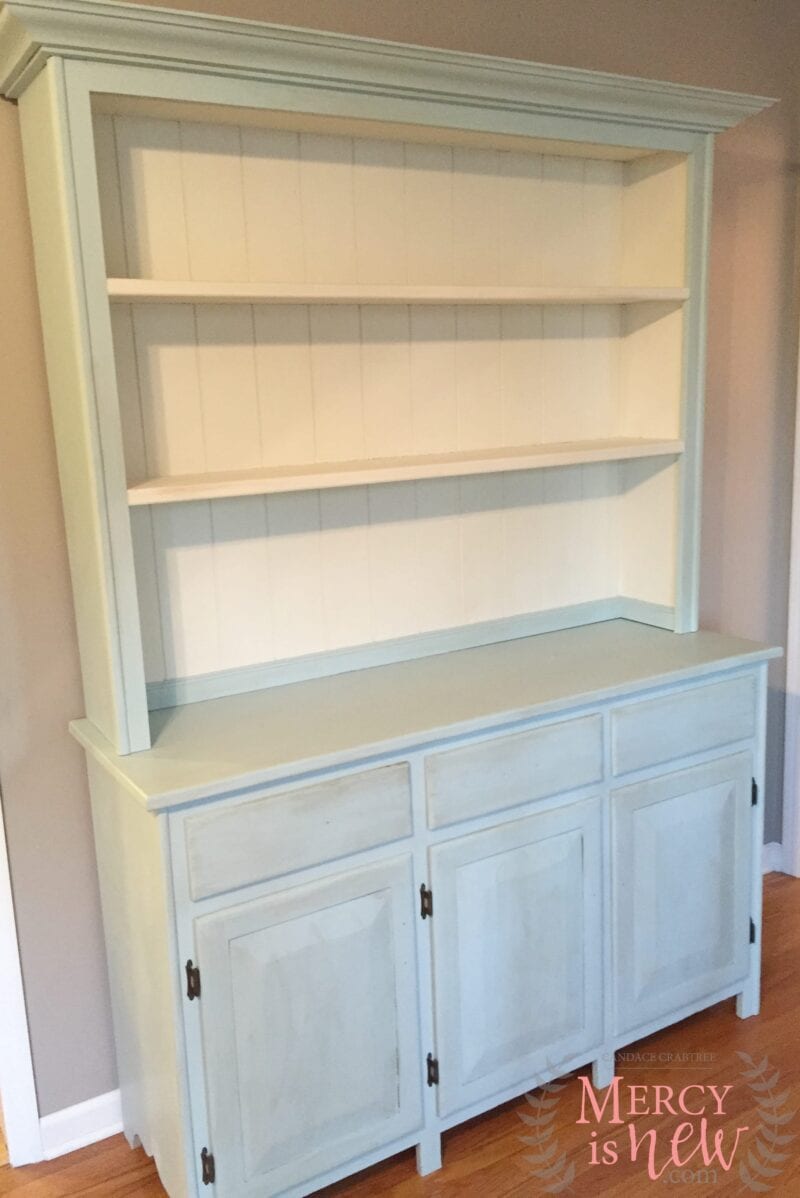
Y’all. I am so, so excited to share this post with you today. I might be a little giddy. I painted a gorgeous hutch that my grandfather made for my family with CHALK PAINT and it turned out beautifully!!
I want to share some pictures with you, the supplies I used, how different types of paints worked and how the whole process went.
So many folks LOVE the Annie Sloan chalk paint, however, I can get the Amy Howard brand very locally to me, and because I’m in a tiny town I wanted to purchase it here if possible.
Amy Howard Chalk Paint

Supplies Used
- Amy Howard at Home One Step Paint (Linen, 32 0z.)
(the blue color I used was Nottoway)
- Amy Howard at Home Light Antique Wax – 3.25oz.
(I put a layer of the light over the entire piece)
- Amy Howard at Home Dark Antique Wax – 3.25oz.
(I used the dark for distressing)
- The WHITE paint I used was from Lowe’s! They have a brand new chalk paint line out now! I couldn’t find a link to it anywhere, but the cans are very similar sizes to the other brands of chalk paint I have seen.
- Old t-shirt to rub wax on hutch (the paint cans say to use a brush just for wax, but I felt like a t-shirt got it covered better)
- Paintbrushes
- Huge drop cloth 🙂
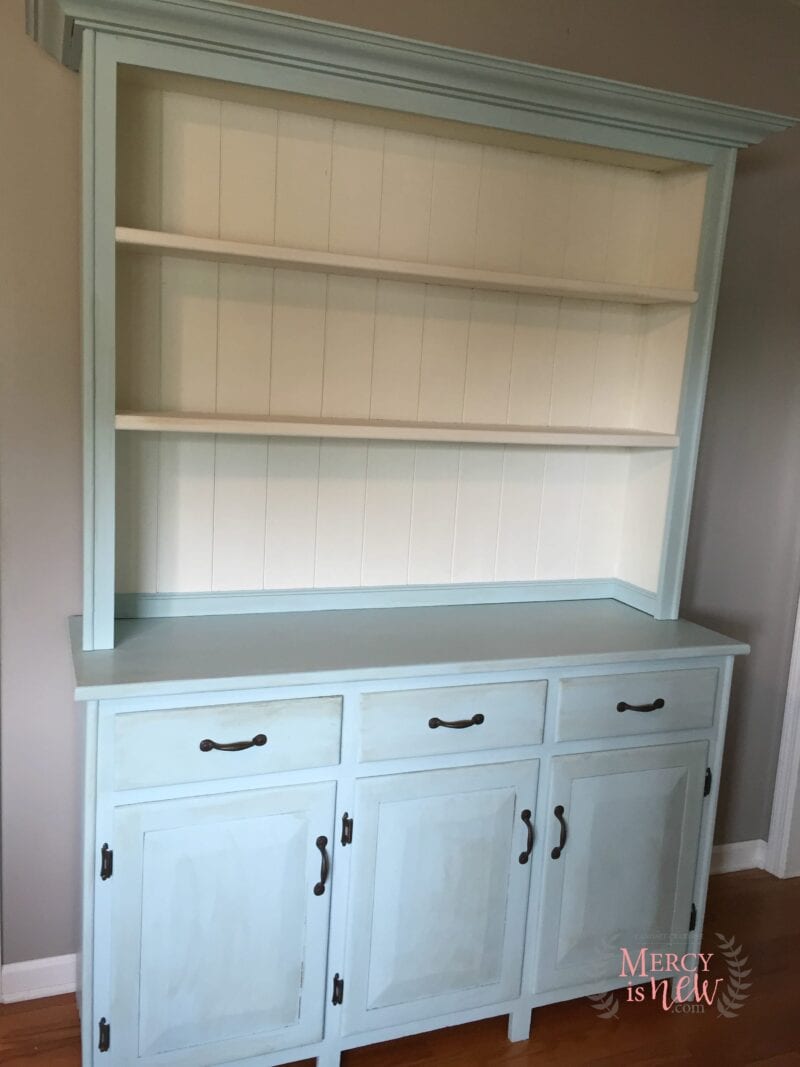
- Hardware — I did get new hardware for my piece, I ordered it from Lowe’s and it was not in by the time I took my first few pictures of the hutch.
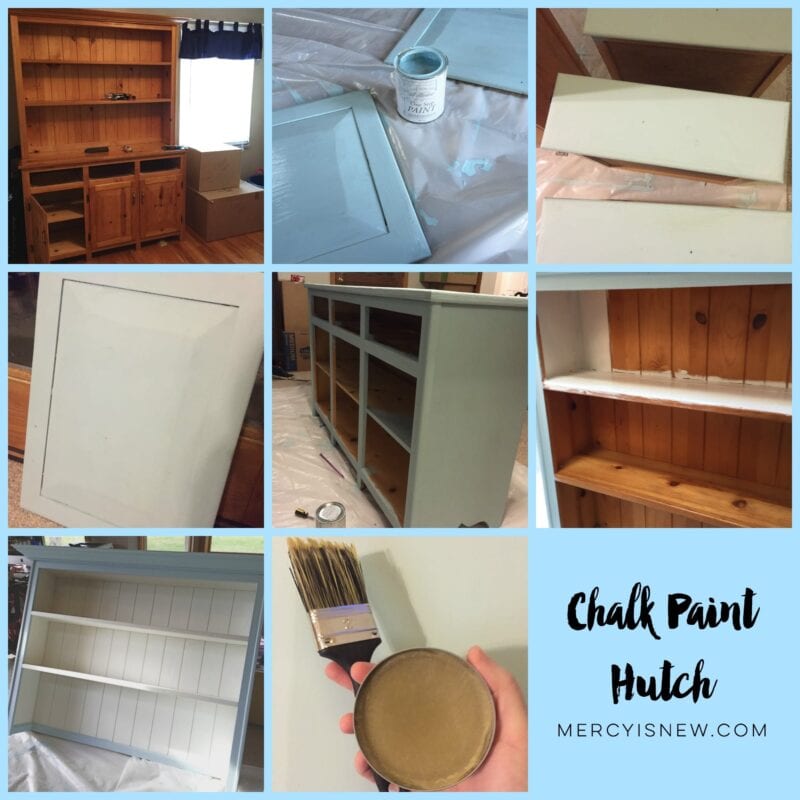
Steps to Using Chalk Paint
First and foremost — NO SANDING REQUIRED — y’all, if I had to do sanding, I would not have completed (or even started) this project. I loathe sanding. Hate it. I did not do absolutely one bit of sanding on this project.
That said, I have *read* in other places, if you have a highly GLOSSY piece of furniture, you will want to just rough it up a bit. I haven’t had to do that, but you might give it a try if your piece is glossy.
My steps are really simple:
- Purchase paint (I got mine locally, also look online.)
- Turn paint upside down up to 1 hour before using it. Shake well.
- Stir vigorously with paint stick.
- Begin painting!
- Give entire piece one coat. Give 30 minutes up to an hour to dry.
- It’s ok if you can still see wood through your piece. Some people want to leave it this way. But you can also do another coat.
- 2nd coat of chalk paint — my 2nd coat covered all the wood that was seen through the first layer.
- After paint is dry, I used a rag and rubbed the entire piece with the wax mentioned above.
- After the layer of light wax, I used a TINY amount of the darker wax in a FEW places to give it a distressed look. I LOVE using the wax to distress!! It is so much easier than sanding, which is what I used on a previous piece with milk paint.
- Sit back and ADMIRE your gorgeous piece of furniture.
While working on this post my handles came in from Lowe’s! Yay!
Comparing Milk Paint and Chalk Paint
I painted an antique dresser and a wooden chair with milk paint in the past!
Milk paint and chalk paint are VERY SIMILAR. Neither require sanding. Both covered the furniture so well and chip/distressed nicely.
If I had to state a difference it would be that the milk paint isn’t as thick and spreads further, lasts longer. The chalk paint is much thicker (with the adhesive in the paint.) Now, I still got the ENTIRE hutch painted with ONE can of blue and ONE can of white. However, we didn’t paint the inside and ran out of paint, so I would have needed more for the inside if I didn’t want to be lazy and just leave the inside unpainted. 🙂
Have you ever used chalk paint or milk paint before? Tell me about your experience!